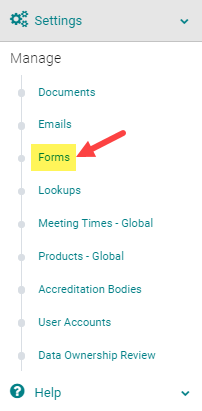
Go to Settings > Forms
Click the 'Add New Form' button or click on the type of the form as shown below.

If you clicked on the 'Add New Form ' select 'Pretest or 'Post Test' From the 'Type' drop-down list
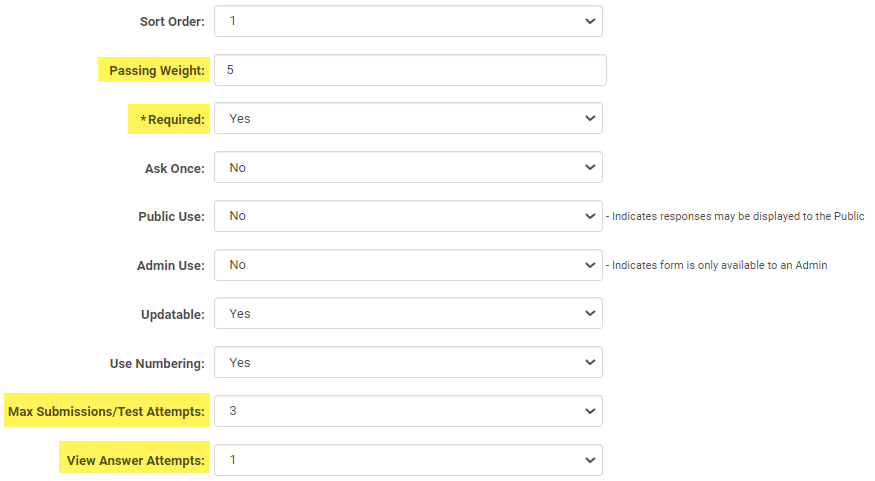
Complete the following fields: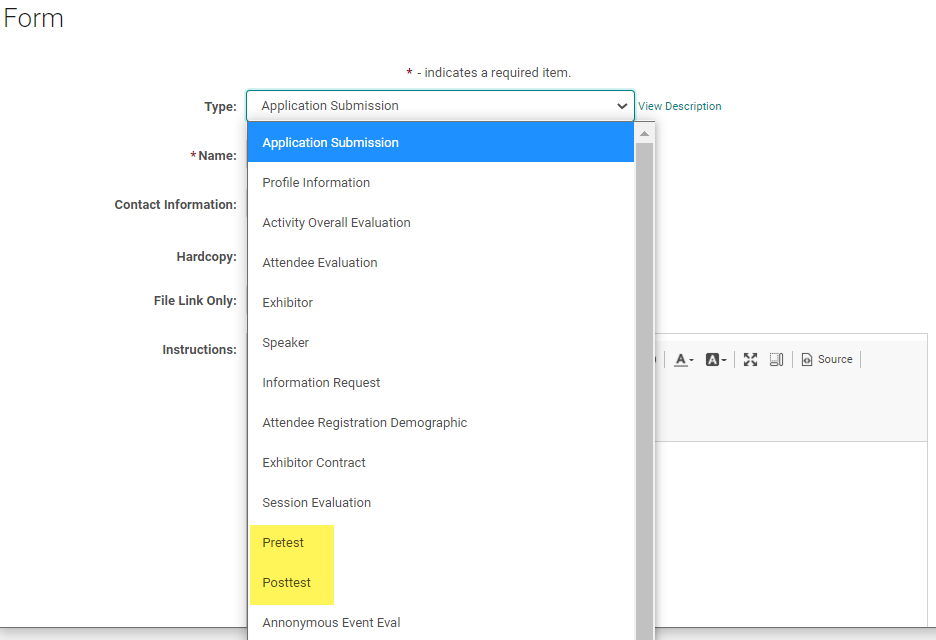
- Passing Weight: Determine the 'Passing Weight'. e.g., If the test has 5 questions and each question is worth 1 point, you will need a 'Passing Weight' of 5 to get 100% correct.
- Required = Yes
- Max Submissions/Test Attempts: Enter the number of attempts allowed to meet the 'Passing Weight'. i.e., how many times can a user fail the test before they are no longer allowed to proceed?
- View Answer Attempts: Optional if you use the 'Answer Explanation' option for Questions. You can allow users to see their test results after a specified number of attempts.
NOTE: If you plan to use the test for more than one session, you need to flag the 'Speaker Ask Once' field to 'No' for reporting purposes.
Enter any other required fields and/or content and click 'Save' at the bottom of the screen to build your new form.
STEP 2: Adding Questions
Click the 'Add Question' link

Enter the required fields. Type= Choose the format of the question. Note: Refer to the article 'Form Question Types' to know what each type/format means
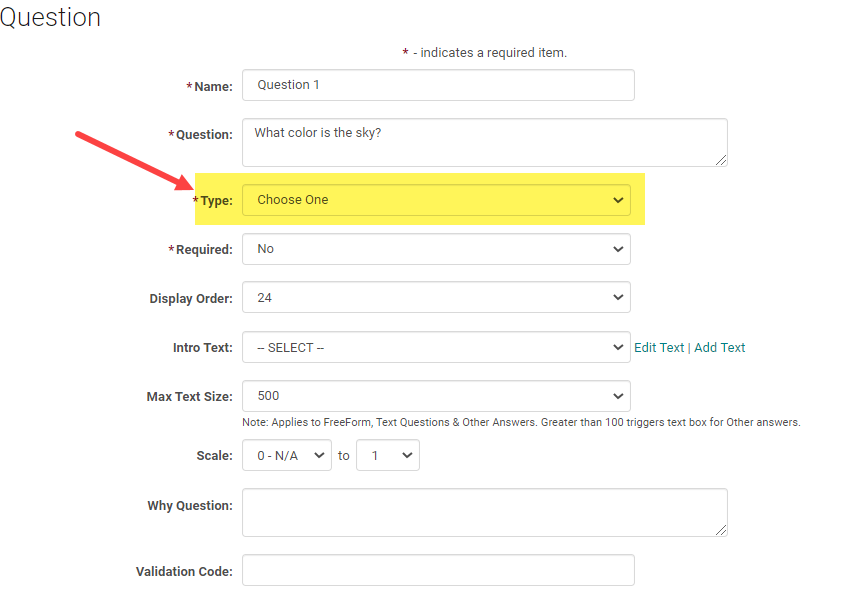
Flag the question as Required = Yes

Add the 'Answer Explanation' (Optional - Users can view these answers after the View Answer attempts) .
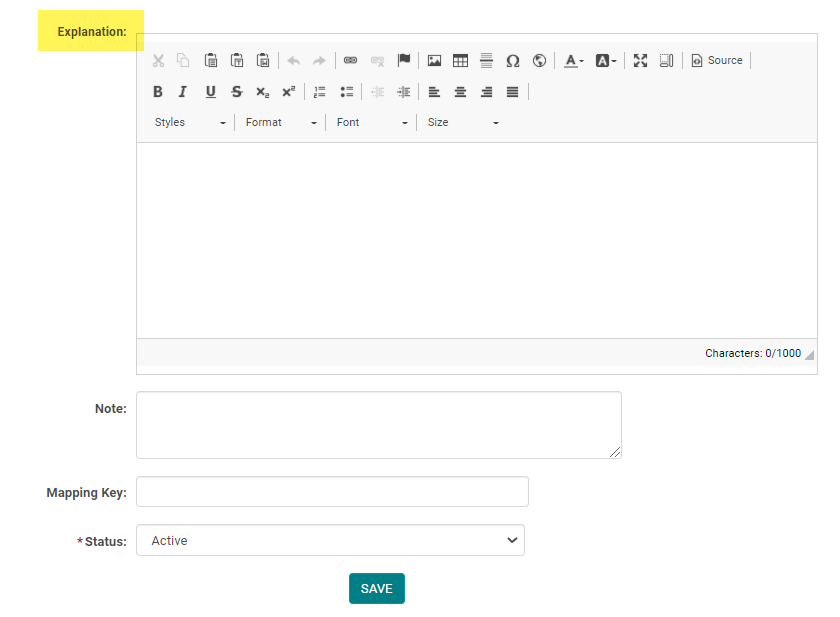
Click 'Save' to create your question and repeat the steps to add as many questions as needed
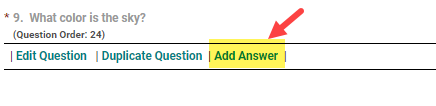
STEP 3: Adding Answers
Click the 'Add Answer' link next to the appropriate question
Enter the required fields and enter the appropriate 'Weight' for the correct answer. e.g., if the question is worth 1 point, enter a 'Weight' of 1 for the correct answer. All wrong answers will have a weight of -1 (n/a) or 0. Add up the weight of all the correct answers and enter as a Passing Weight on the Edit Form page.
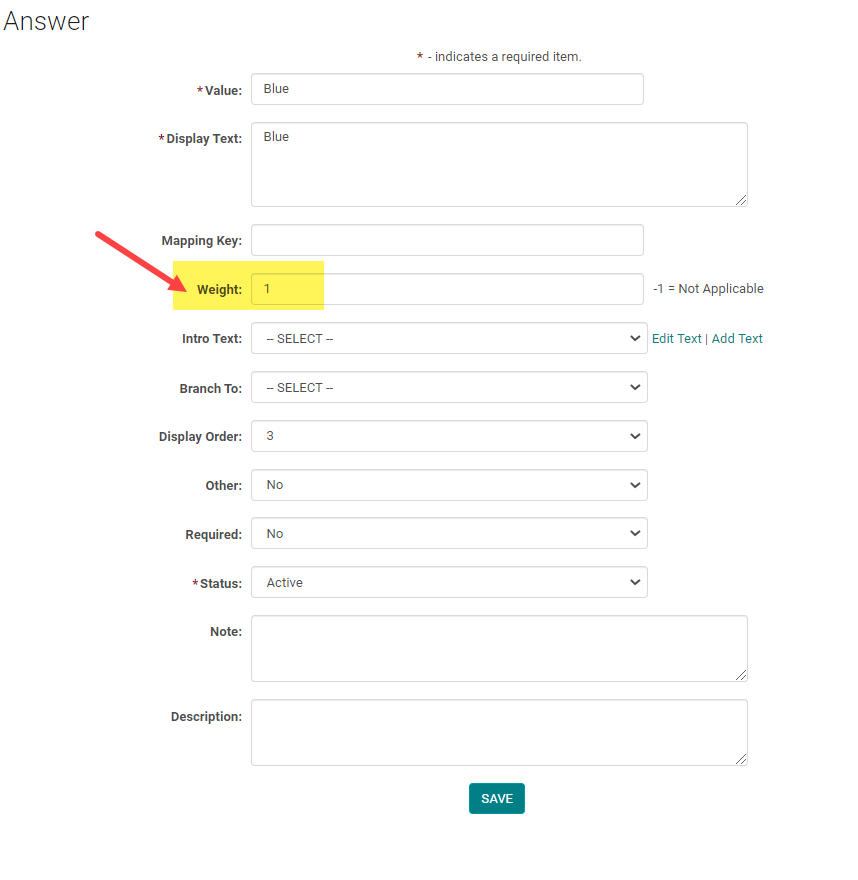
Click 'Save' to add the answer and repeat the steps to add as many answers as needed.
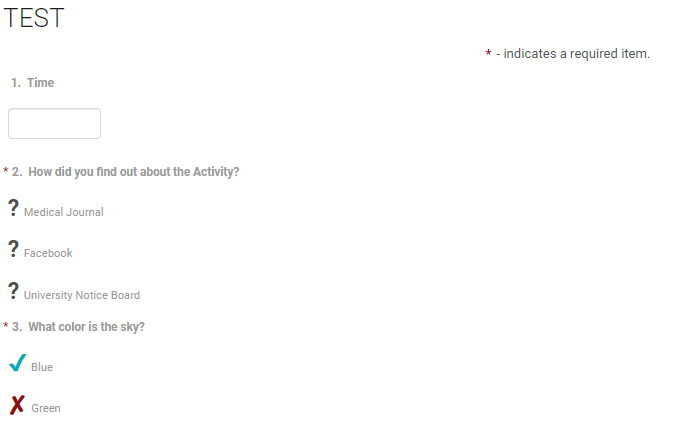
Viewing Answer Key:
To the test taker the View Results functionality shows the correct and incorrect answers for each question based on the answer weights.
- If the weight is negative, we don't know if it is right or wrong, so we show a question mark.
- If the weight is 0, we show an X.
- If the weight is more than 0 we show a check mark.