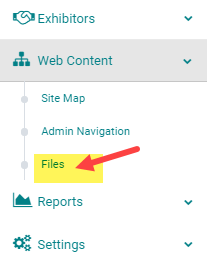
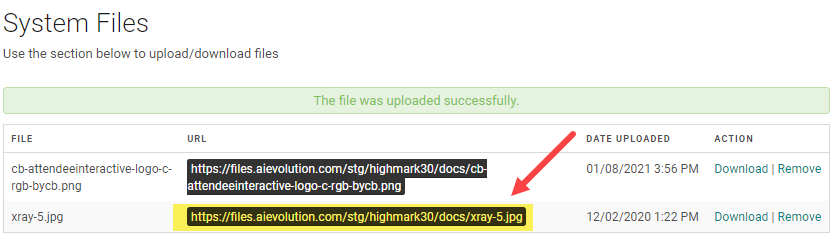
STEP 1: Go to Web Content > Files
STEP 2: At the bottom of the page, select the 'Choose File' button
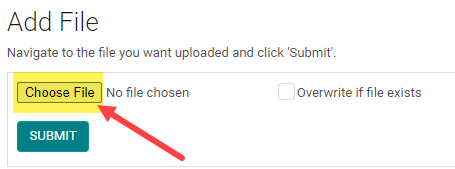
STEP 3: Search your computer for the correct file and click 'Open'

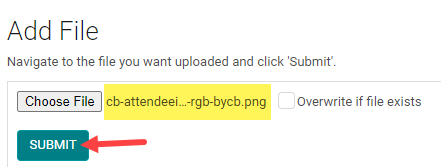
STEP 4: Click the 'Submit' button
NOTE: check the 'Overwrite if file exists' to replace a file with the EXACT same file name
STEP 5: Copy the file 'URL'
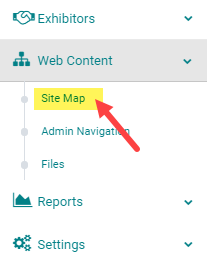
STEP 6: Got to Web Content > Site Map
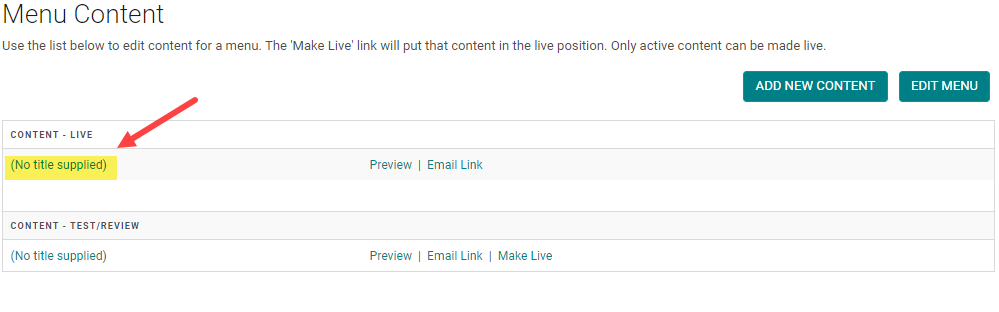
STEP 7: Click 'Edit Content' next to the Menu you want to add the image to

STEP 8: Click on the Content you want to add the image to
STEP 9: Place your cursor where you want the image to show up within the content and click on the Insert Image icon in the toolbar

STEP 10: Paste the File URL into the 'URL' field, select the 'Alignment' and click 'OK'
NOTE: the 'HSpace' and 'VSpace' will add padding around the image
NOTE: Adjusting the 'Width' and 'Height' will distort the image in the browser. If you need to resize the image, you will need to edit it on your computer, save the file (with the same file name), and re-upload the image (Steps 1 - 4) with the 'Overwrite if file exists' checkbox selected.

STEP 11: Once the image is inserted, you can select the image and drag it to another place, or double-click the image to bring up the 'Image Properties' pop-up window to make additional changes.

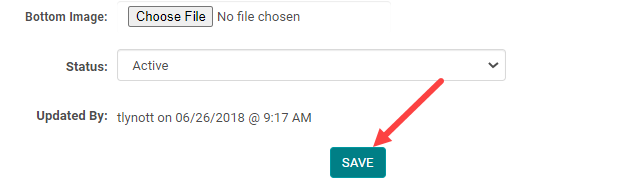
STEP 12: Once you are happy with the placement of the image, click 'Save' at the bottom of the page